A selfie changed my routine. In one photo I could see that the lines at the corners of my eyes hadn’t faded once my face relaxed, and I decided my late-thirties skin needed more than a basic moisturiser. This post covers the routine I chose after that: the Incellderm Dermatology booster, serum and cream, used in a specific four-step order. I’ll explain what each product is, how to use it, and why the order matters more than you’d expect.
Before this line, I’d given up on plenty of anti-aging products, and nearly always for one of two reasons. Some felt so heavy or sticky that I dreaded putting them on every day. With others, I got bored waiting to see a difference and moved on to the next jar. A routine only works if you keep doing it, so I care as much about texture and ease as about ingredients.
The routine at a glance
Booster, Serum, Booster, Cream: The Order Matters
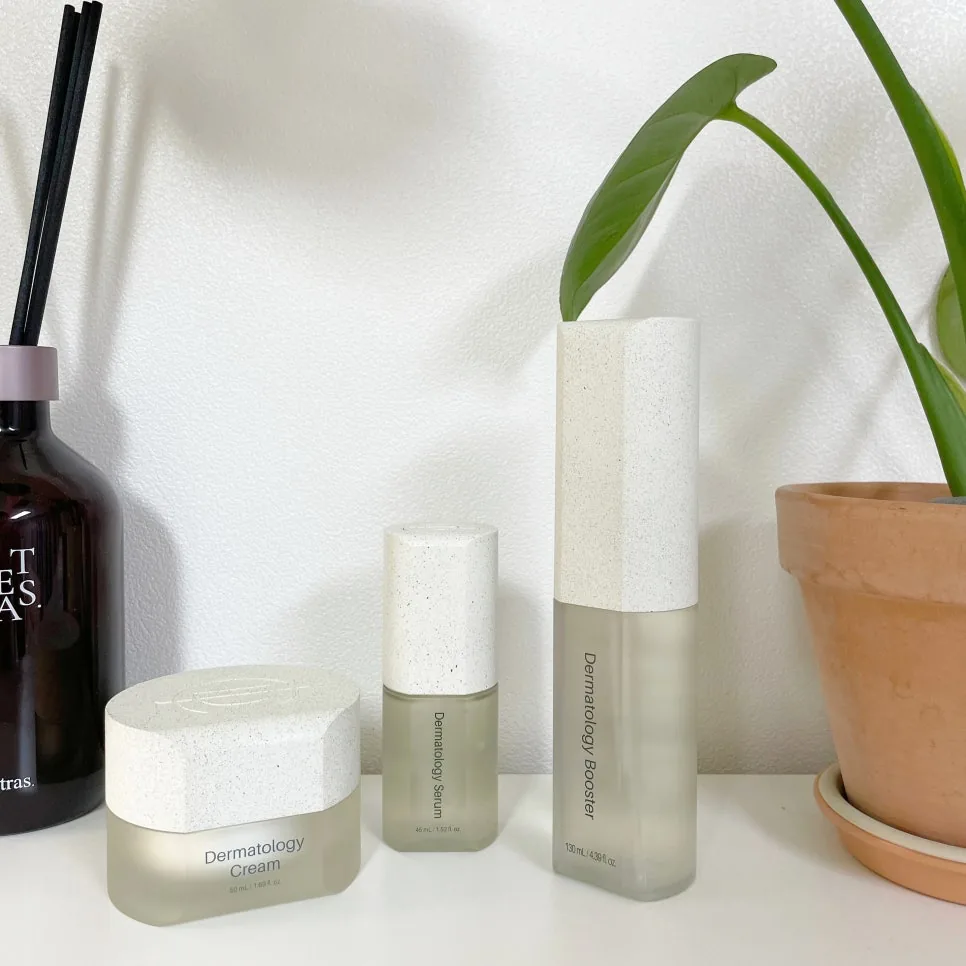
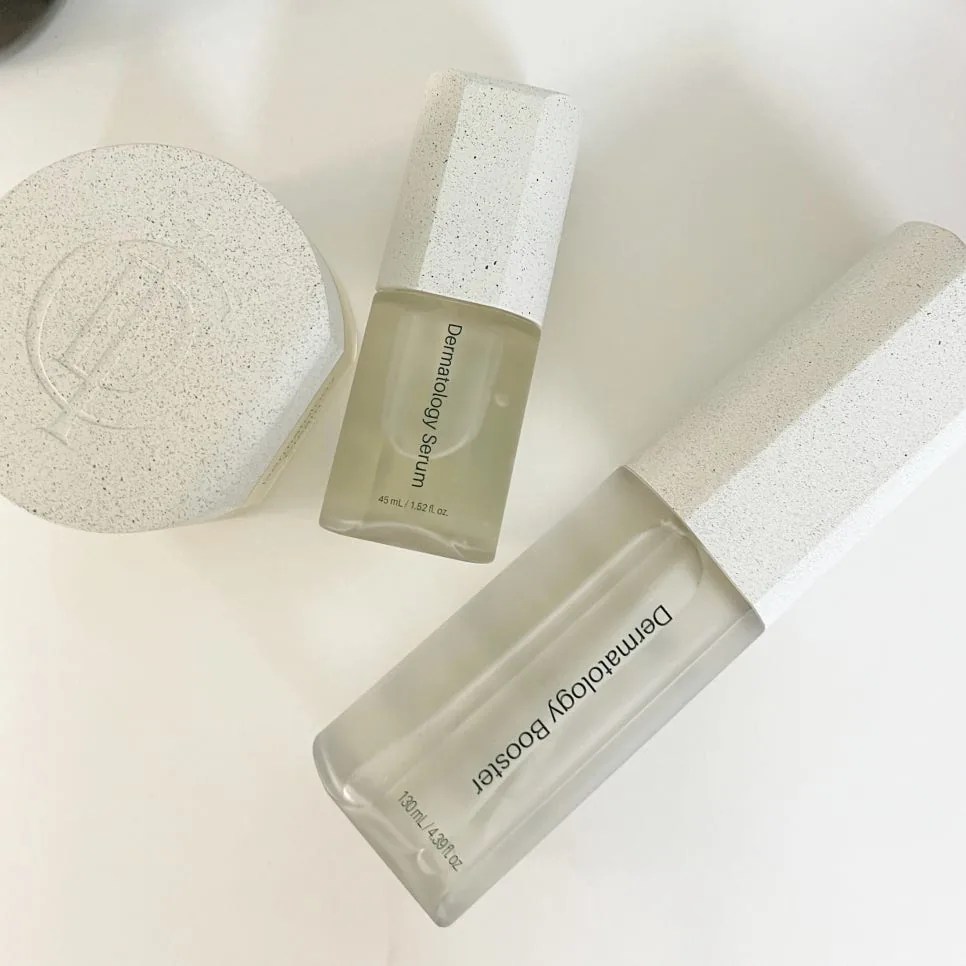
Incellderm is the skincare brand of Riman, a Korean company that sells through its own membership channels rather than regular shops. The Dermatology line has three products, and the bottles in my photos list their sizes: a 130 mL (4.39 fl oz) booster, a 45 mL (1.52 fl oz) serum and a 50 mL (1.69 fl oz) cream. The brand doesn’t give you a loose “use as you like” instruction. It gives you a fixed sequence:
- Booster – a watery first layer straight after cleansing, for hydration
- Serum – the plumping, glow-focused step
- Booster again – a second mist to seal in the serum layer
- Cream – the final layer that locks everything in
My first reaction was the same as yours probably is: why would anyone buy a product and then use it twice in one routine? I’ll get to that below, because the second booster step turned out to be the part I’d defend most.
All three products are registered in Korea as dual “functional cosmetics” for brightening and wrinkle care. Korea’s Ministry of Food and Drug Safety reviews products in that category before they can make those specific claims. Brands earn the category with approved ingredients, often adenosine for wrinkle care and niacinamide for brightening. Check the ingredient list on your box to see which ones this line uses. Keep in mind that the label doesn’t make these products medicines. It means the regulator accepted the cosmetic claims, and that reassurance is why I felt comfortable using all three products every day.
Step one: the booster
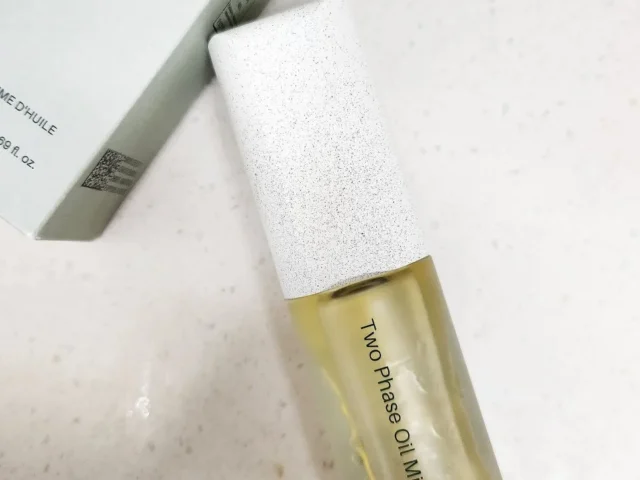
The Dermatology Booster Is Mostly Centella Water, by Design
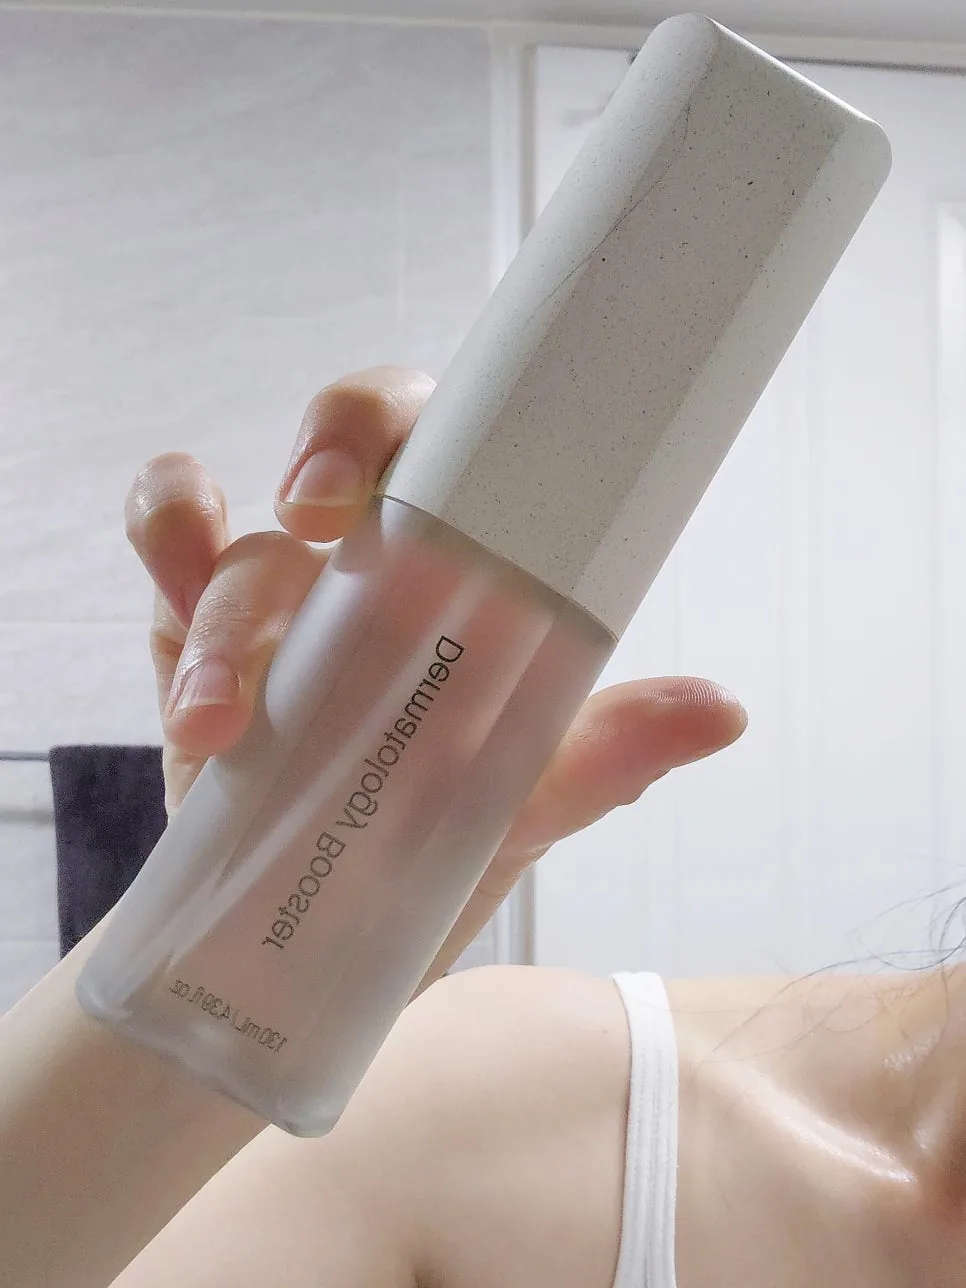
In Korean skincare, a “booster” is the first leave-on step after cleansing. It’s a thin, watery layer that hydrates your skin so that later products spread more easily. You can think of it as a cross between a toner and an essence. This booster comes as a mist, and the first thing I noticed was how hydrated my skin felt as soon as I sprayed it. That instant result is why I keep using it.
According to the brand, the main ingredient is “lava centella water,” a Centella asiatica leaf water, and it makes up 89.6% of the formula. Centella (often sold as “cica”) is a well-known soothing, hydrating plant in K-beauty. A share that high means the centella water is the base of the formula and takes the place of plain water. A big percentage like that is mainly a sign of a gentle, hydrating base, and it shouldn’t be read as a concentrated treatment. The brand groups this ingredient into what it calls its Giant Centella™ 3 Solution, which runs through all three products.
Riman’s own human-use tests report the following for the booster:
- Improved hydration lasting up to 100 hours after a single use
- An increase in skin moisture right after use, measured in several climate conditions
- Faster recovery of the skin barrier one hour after the skin was deliberately stressed
- Improvements in the look of cheek firmness, eye-area fine lines and skin density
- Irritation testing on sensitive skin, plus a German Dermatest rating
These results come from the brand’s own testing, so treat them as manufacturer data rather than independent research. I didn’t believe the 100-hour figure when I first read it. What I can tell you is what I felt myself: on mornings when I started with the booster, my skin didn’t feel tight by evening. After that, it made sense to me that the brand puts the booster first.
Step two: the serum
The Serum Is the Step I’d Never Skip
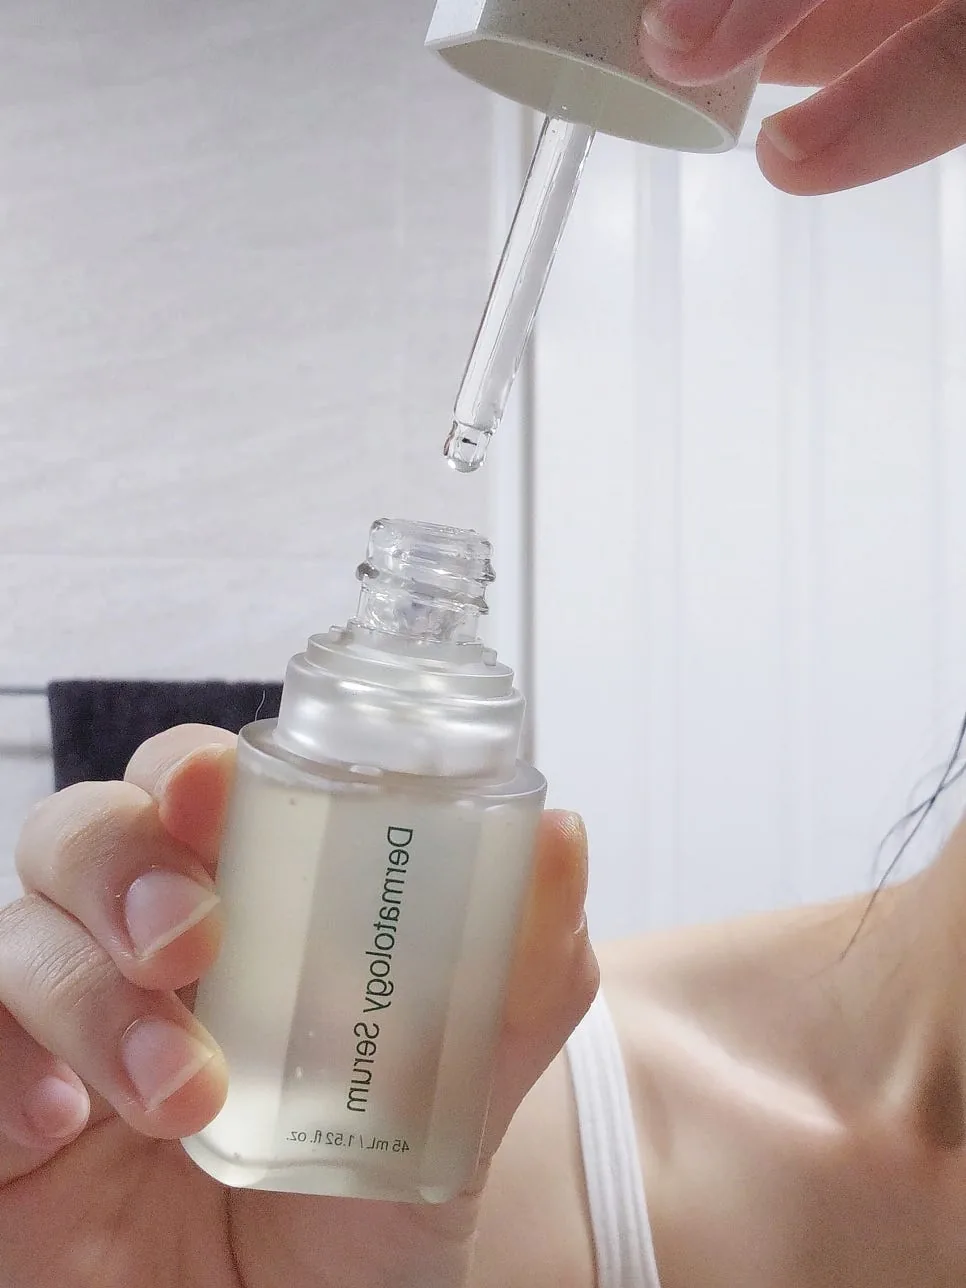
The serum is honestly my favourite of the three. The best way I can describe it is that it sinks in lightly but my skin feels fuller the more I layer it. In the dropper the serum looks slightly thick, but once it touches your skin it feels very light and absorbs quickly. If you’ve given up on serums that leave a sticky film, this one is worth trying.
The bottle uses a self-loading dropper, and it works differently from a standard squeeze-bulb dropper:
- Before you open the bottle, make sure the dropper button is pressed down.
- Twist the cap off, and the dropper fills with serum automatically.
- Put a few drops on your forehead, cheeks, nose and chin, then spread them gently.
- To refill the dropper, hold the top button down while you put it back in the bottle, then let go.
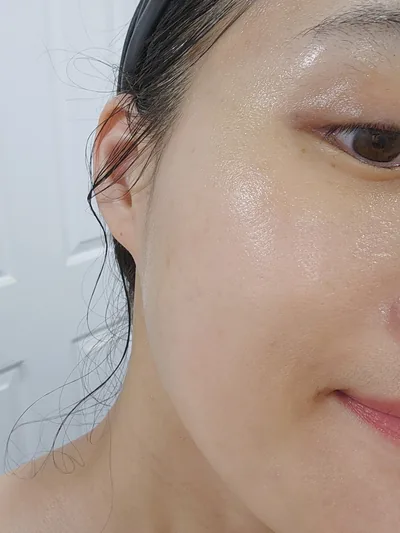
According to the brand’s tests, the serum improves the look of volume in hollow areas, makes skin look firmer, increases moisture right after use and gives a temporary glow. The word “temporary” matters here. The glow is real, but it comes from how the serum sits on your skin, and it isn’t a lasting change. In my own use, my cheek line looked less droopy before I put on makeup. If hollow-looking cheeks or the lines from nose to mouth are what bother you, this serum is the product I’d tell you to keep.
Step three: the retouch
Why Spray the Booster a Second Time?
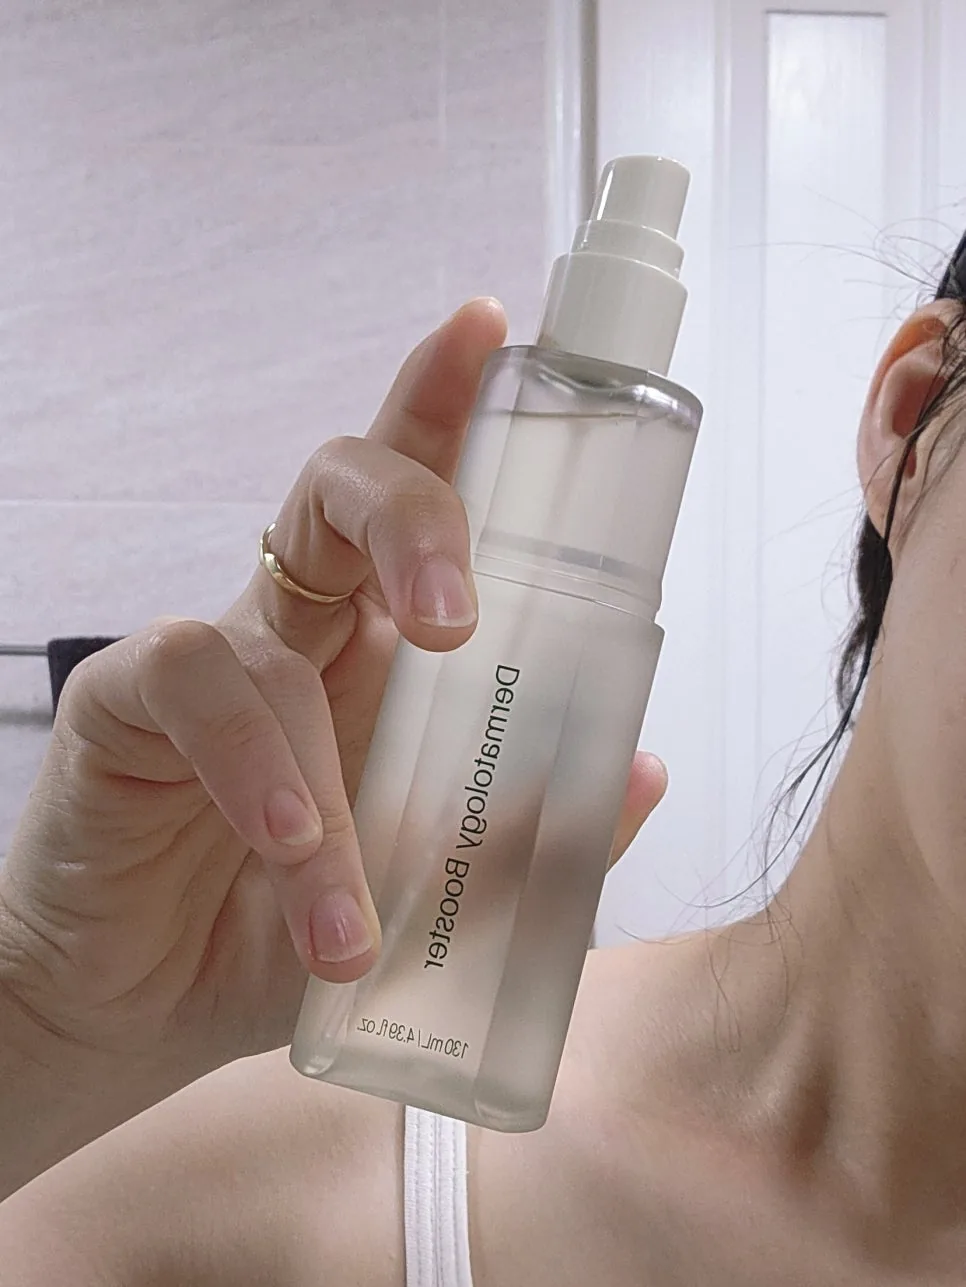
A lot of people finish with the serum and go straight to cream. I did that at first, and the cream never seemed to settle into my skin properly over the serum. When I added a second mist of booster between the two steps, the cream spread more smoothly and stayed in place better.
This step has a simple explanation. Creams and lotions spread more evenly over slightly damp skin than over a layer that has already dried. A watery, humectant-rich mist also adds a little more water for the cream to hold in. The brand describes the second booster as locking in the serum layer. I think of it as resetting the booster’s hydration before the cream goes on top.
Here’s a simpler option if you already own a hydrating mist you like. The second booster step works because it adds water at the right moment, so any watery, low-irritation mist can fill that role. Use the Dermatology Booster if you have it, but don’t skip the step just because you’d run out.
Step four: the cream
The Cream Holds the Whole Routine in Place
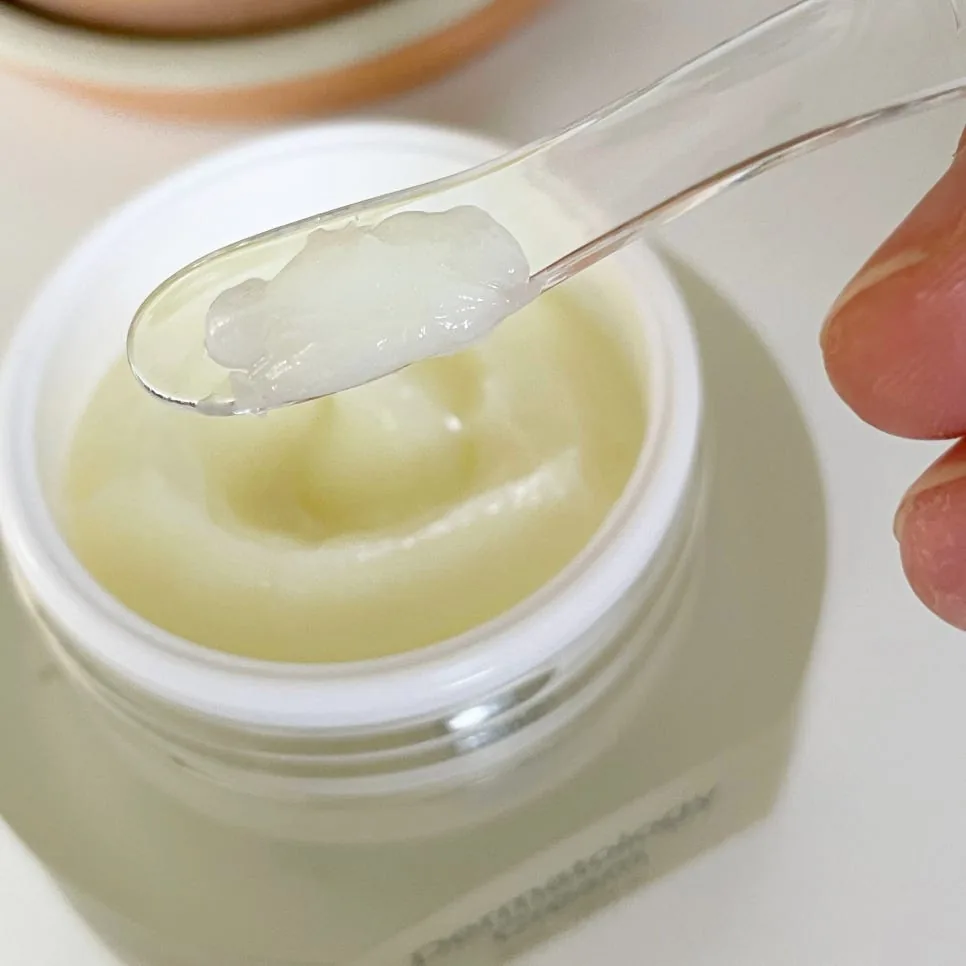
The brand calls this a density-care moisturising and lifting cream, and in my experience the texture matches that description. It melts as you spread it and absorbs quickly, but your skin still feels dense and well cushioned afterwards. It isn’t the waxy, heavy kind of anti-aging cream that made me quit products in the past.
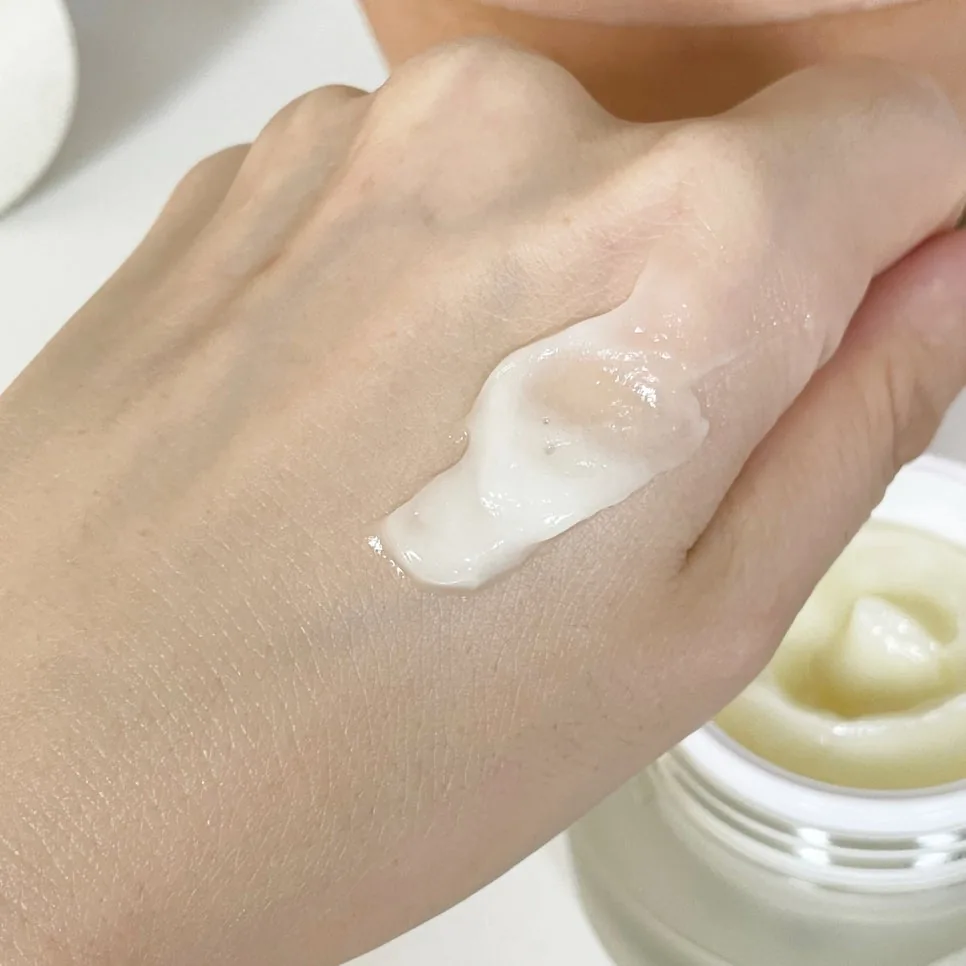
The brand’s test claims for the cream mostly focus on sagging. They report improvements in the look of gravity-related sagging, firmness on both the surface and deeper layers of the cheeks, moisture right after use, and the look of cheek texture and eye-area lines. The brand also mentions antioxidant activity confirmed by a DPPH test. A DPPH test measures free-radical scavenging in a test tube, not on skin. That result tells you the formula contains antioxidant ingredients, but it doesn’t prove that skin looks younger after using it.
Sagging was the change in my skin that worried me most as I got older, and this cream is the step aimed at it. For me, it holds the hydration and plump feel that the booster and serum built up.
One product or the full set
Do You Really Need All Three?
When I started, I thought I could buy just the serum or just the cream. After using all three products in order, I changed my mind. Each step relies on the one before it. The first booster hydrates your skin, the serum adds the plumping layer, the second booster seals that layer in, and the cream holds everything in place. All three products share the same centella base, and I noticed a difference when I used them together in sequence that I didn’t get from using them separately. Whenever I skipped a step, the results felt weaker.
If you can only buy one to start, choose the serum. It’s the step that does the most visible work, and you can cover the booster steps with a hydrating mist you already own until you decide whether the full set is worth it for you.
This line suits you if any of these describes you:
- You’ve tried several anti-aging lines and never stuck with one
- You want to start an anti-aging routine but can’t stand heavy textures
- You want a gentle formula you can use morning and night without thinking about it
- You need a daily step for firmness and the look of fine lines
Skip this line if your skin is oily, you’re happy with how it looks, and your main goal is resurfacing. That job calls for a dedicated exfoliant or retinoid, which this line doesn’t present itself as. Every point on the list above describes me, which is why I kept this routine.
If you’re new to anti-aging skincare, the order is the part to remember: booster, serum, booster, cream. Try that sequence for a few weeks before you add anything else. The aim of this site is to curate, test and explain each step so you end up with a routine you’ll actually keep.